After finishing a barrel, texturing it and then compositing it, I was feeling a lot more confident with using blender and wanted to try creating my own model from scratch.
I didnt want to do anything too complicated, so decided on creating a simple wooden chest. My thought process is that the general shape isnt too far off the cube mesh you start with in blender, and that texturing it should be simple enough as it is just wood and metal. However I encountered many more dificulties than I imagined.

This is the picture I used as inspiration for creating my model. As far as I could tell, the mesh consisted of a cube slightly altered and half a cylinder mesh, with some simple extrusion and loop cuts. Although I could have probably had a go at making the lock using a torus mesh, I decided not to as I wanted to keep the object quite simple.

I used the mirroring modifier a lot in order to get a symmetrical shape, speeding up my process by a large margin. I also used the duplicate option a lot to create the rivets on the metal sections of the chest. However this would have me running in to issues later when I discovered that as they were all duplicates, blender had automatically linked them all together. This meant that I had to unlink over 100 spheres towards the end when I figured this out.
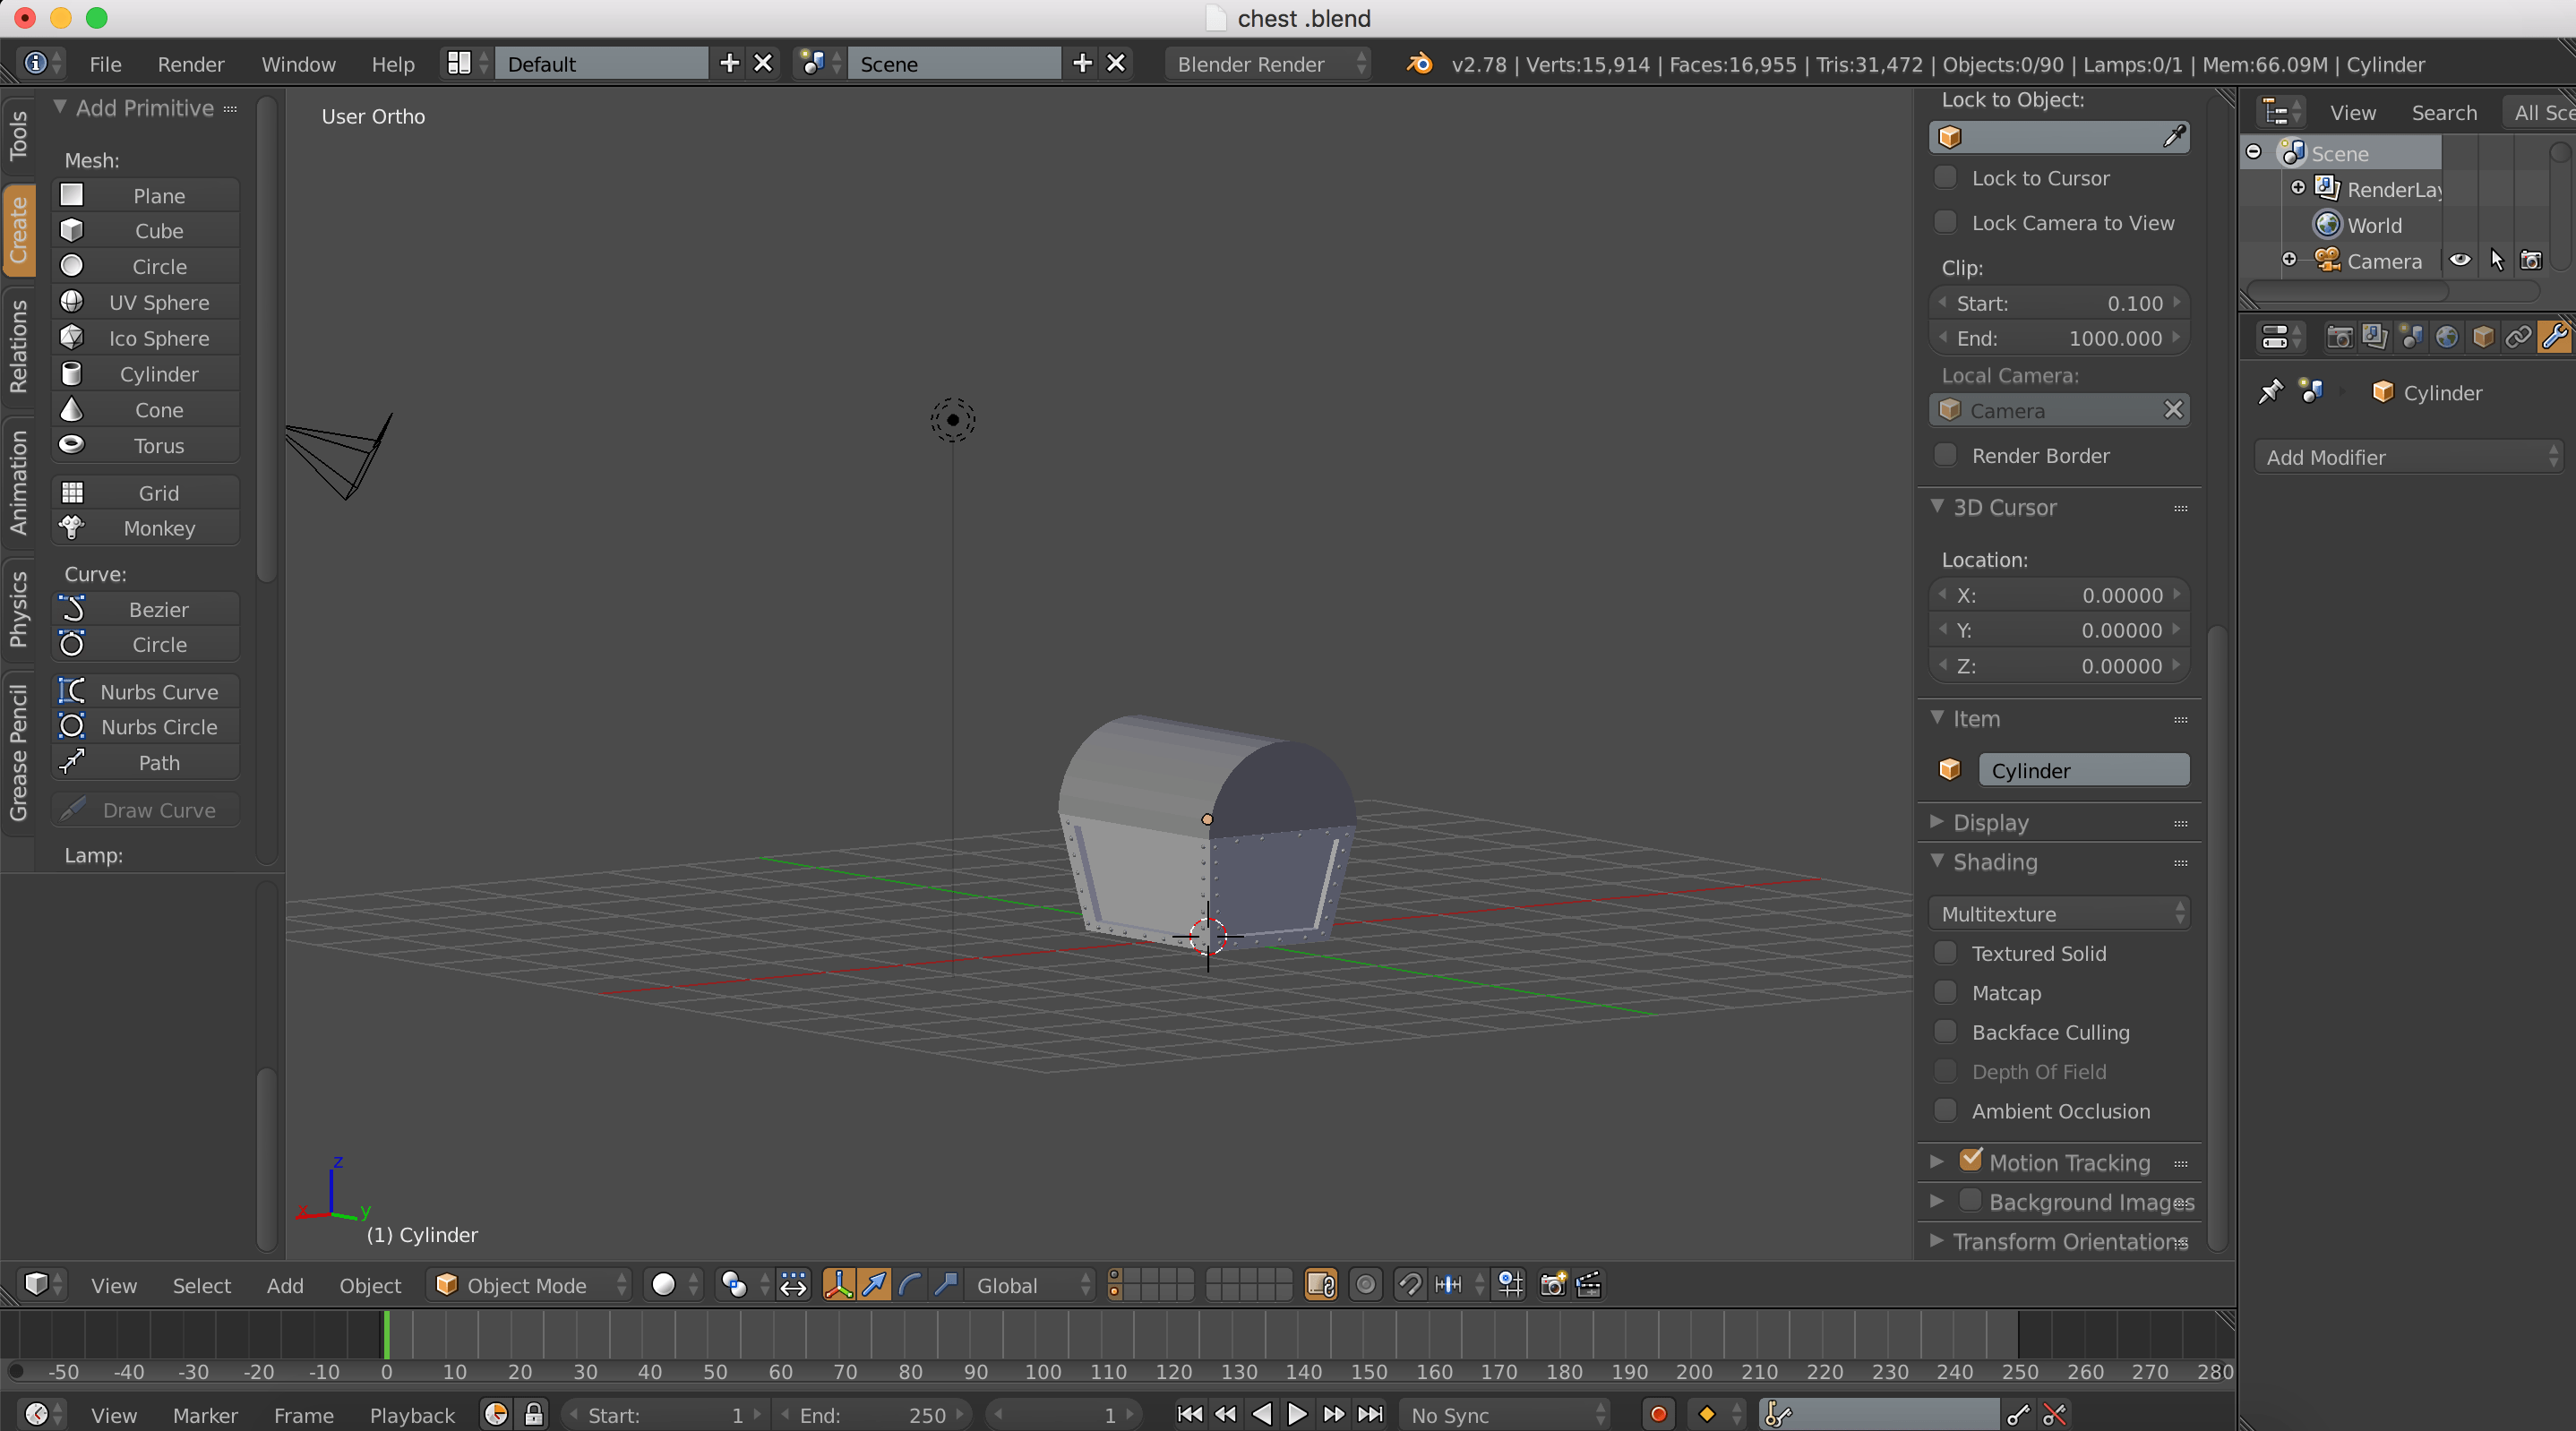
There was a minor hiccup when it came to halving the cylinder in order to create the top of the chest, this was due to the shape having an uneven amount of vertices and therefore an edgeloop couldn’t be cut straight down the centre of the mesh, this was quickly rectified.
The next issue arose from trying to make the metal bands on the lid of the chest. I discovered that I couldn’t just extrude outwards like I could on a flat face as the rounded edge of the cylinder ment that each face of the cylinder would extrude separately causing small gaps between the extrusions. In the end I decided to scale the main cylinder back a little bit on the Y axis so that I could insert 2 slightly larger cylinders on either side of the lid in order to create the illusion of metal bands.
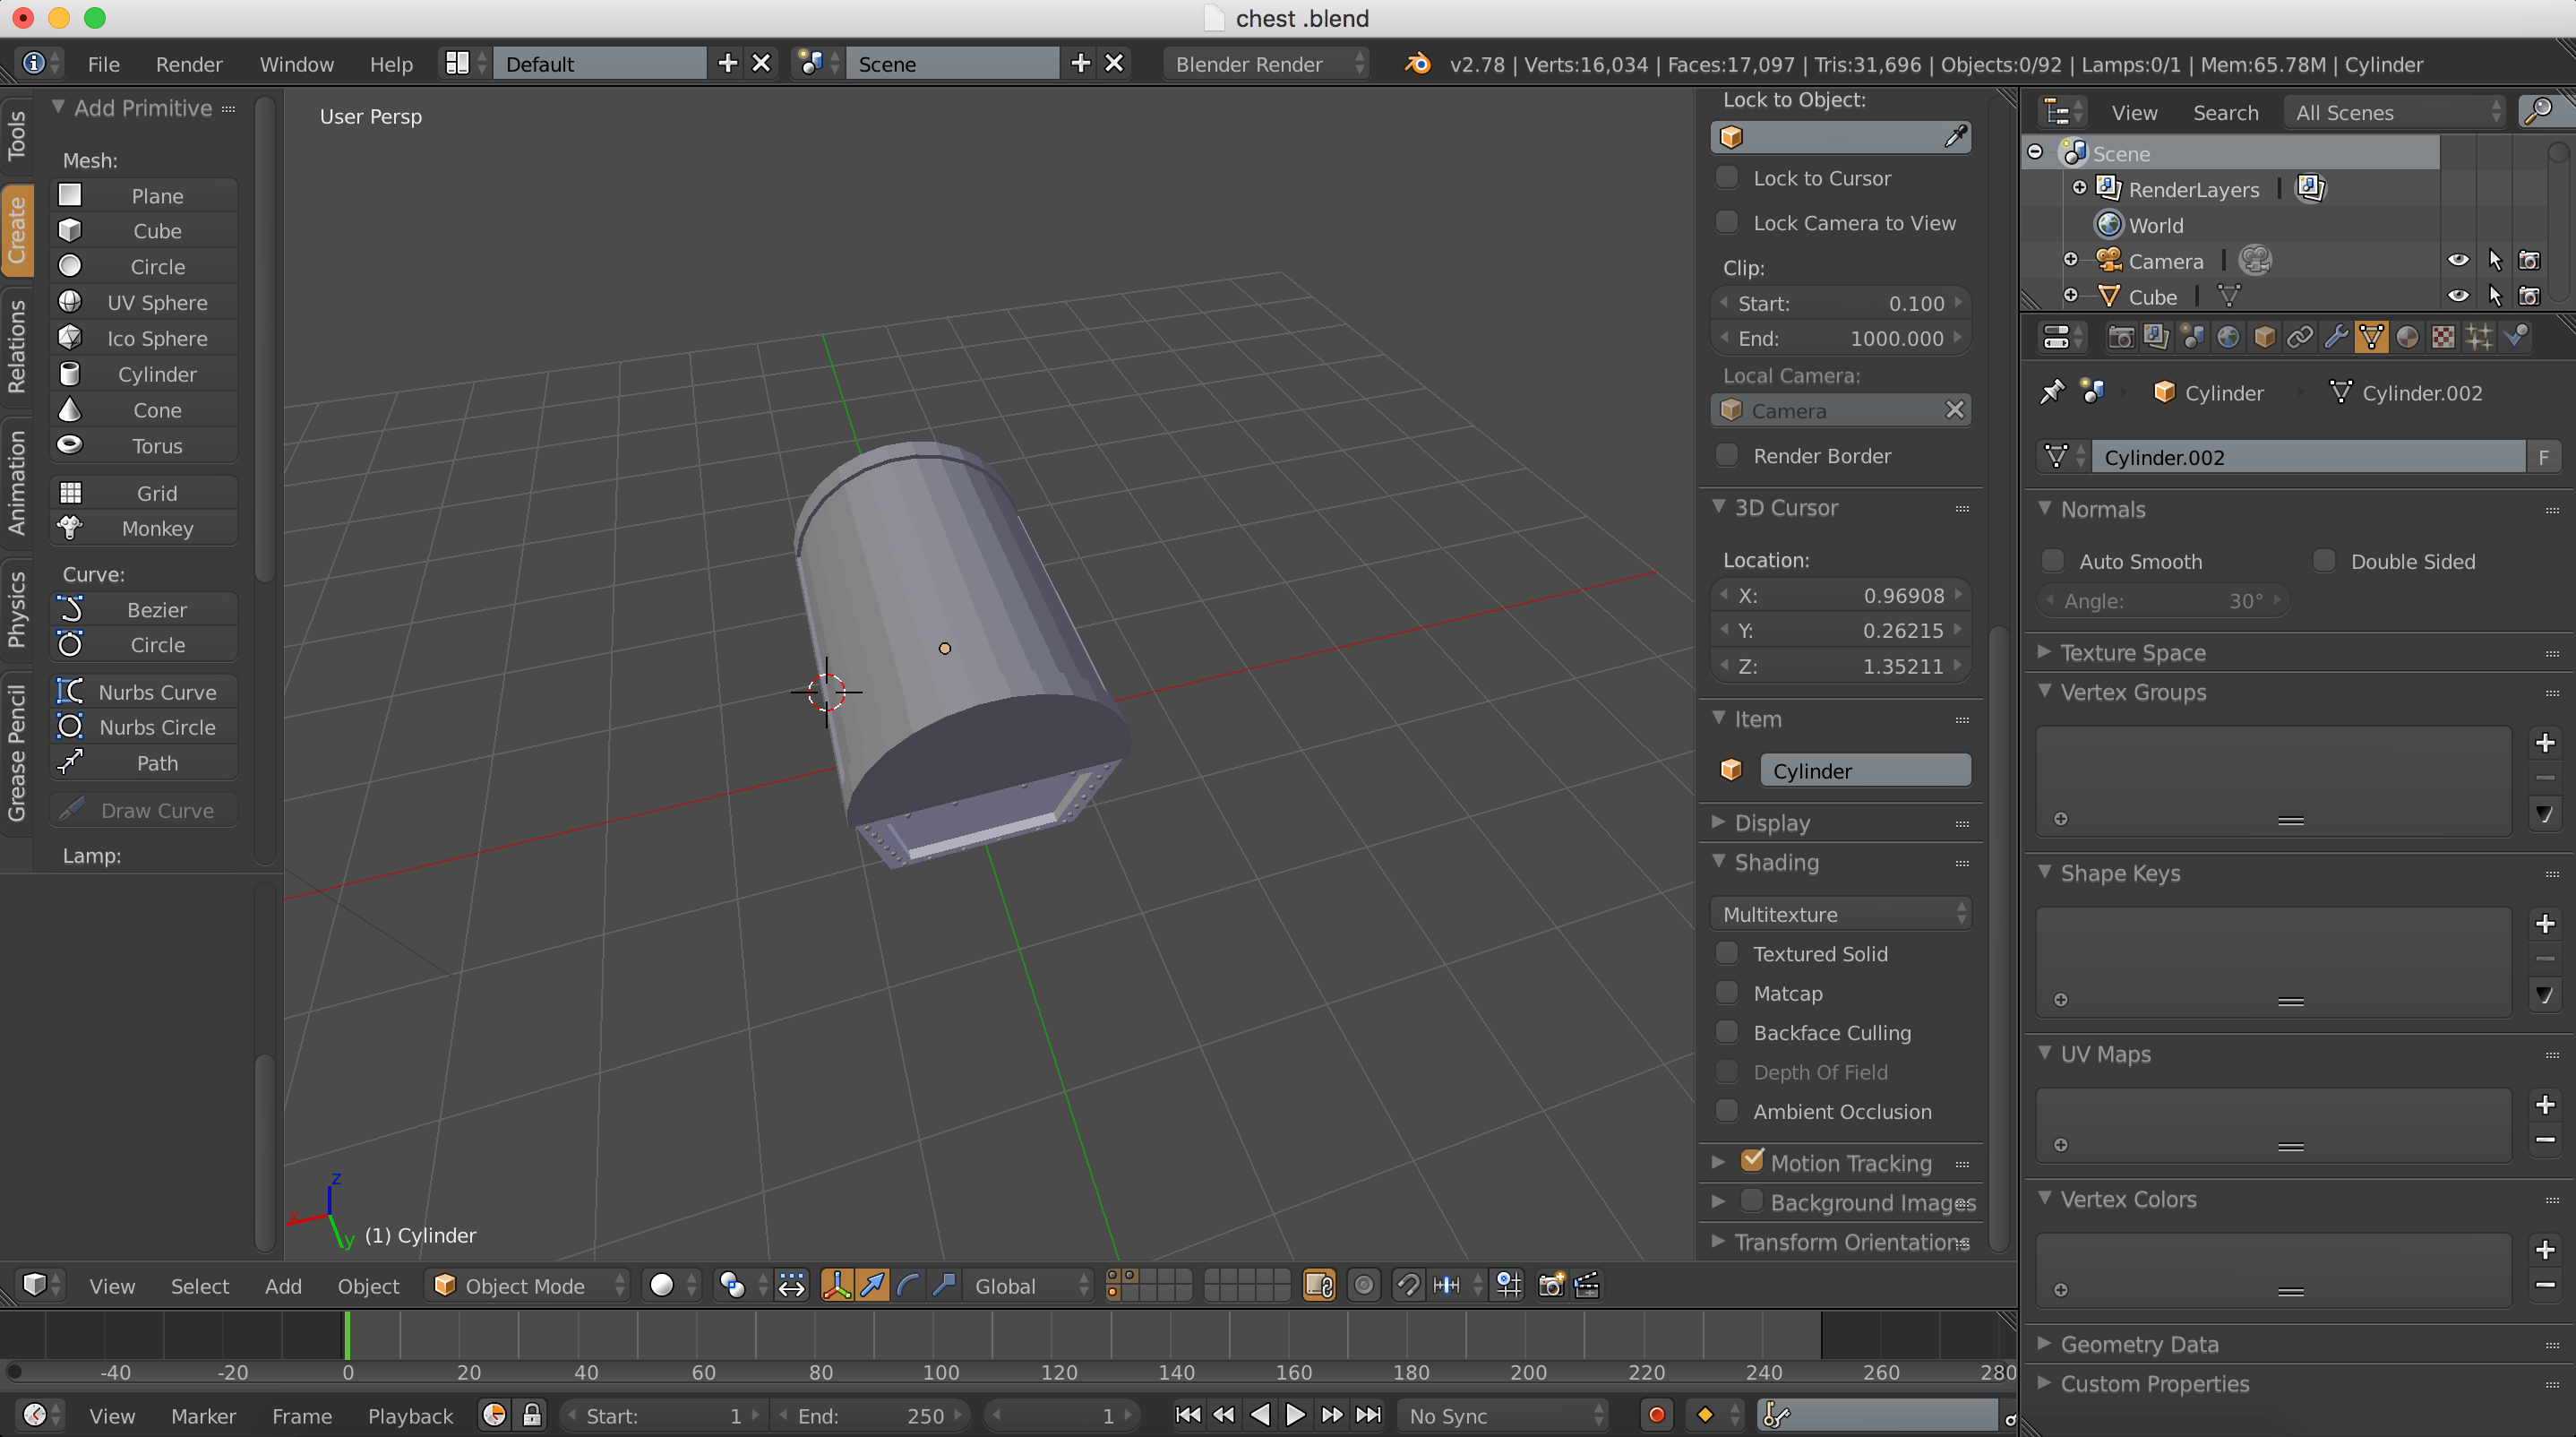 I then extruded the faces at the bottom of the main cylinder to line up with the larger edge cylinders, in what I hoped would look seemless after rendering, but at this stage I wasn’t hopeful.
Unwrapping the shape took a long time, as I had to separate different parts of the mesh in order to be able to texture them differently. But through doing this I think I understand the process a lot more, as from my previous posts it was obvious I struggled the most with getting this process to work for me.
It took seven tries of unwrapping and bringing into to substance painter before I finally got all the separate elements of my mesh working.

Finally however I got it working. This is when I discovered that creating a realistic metal object is a lot easier than creating a realistic wooden one, or at least it is for me. Substance painter doesn’t offer many wooden effects or ways in which to age wood or make it look worn. Also for some reason although the front of my object would look fine with the wooden texture applied, for some reason the back of my object would appear blurry, as if the texture had been stretched or zoomed in on. I feel like I’m going to need a lot more practice with Substance Painter in order to get more photo realistic results from it.
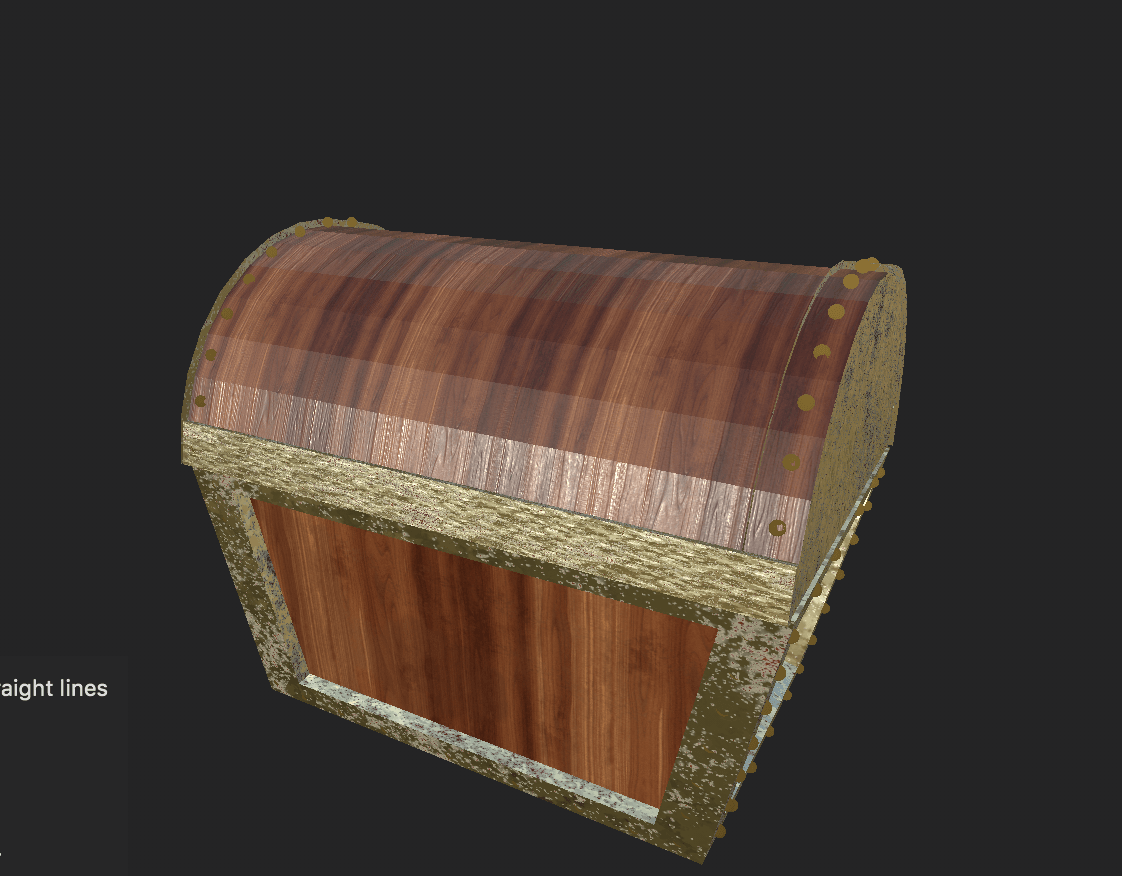
Also as expected, the edges of my lid ended up not working after texturing. I think the next object I try to create will have to be even simpler, in line more with the barrel I started with.