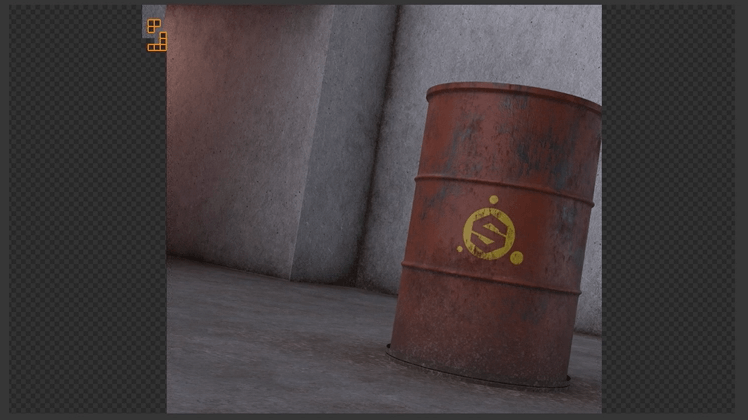
With Jon’s help, I set out to texture the barrel scene in Blender, something that as you can see from previous posts, I had no idea how to do. Learning from Jon that the newest version of Blender was needed to complete this helped a lot to begin with, as the tutorial I had been following up to this point had the guy using his own node that he built in order to apply textures.
I was shown how to link up the 4 different things needed for each texture: Base Colour, Metallic, Roughness and Normal. Substance painter exports each of these handily, ready to plug straight in.
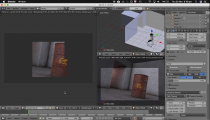
The next thing to think about is the way in which you render your image out. Jon showed me how to do this to maximise the potential of my Macbook’s rendering times, for example taking down the light path options down and using denoise to minimise grain on low sampling options.
We decided to composite the barrel into the footage I tracked earlier outside the Uni (see previous post). After correcting the lighting in the scene to try and make it match to the light in the footage, the barrel was brought in.

And it actually doesn’t look half bad at all! I was pretty happy with it actually having never gotten this far before. My next goal is to try and recreate this entire process from scratch. I want to make, texture and render an object from scratch without following a tutorial.
