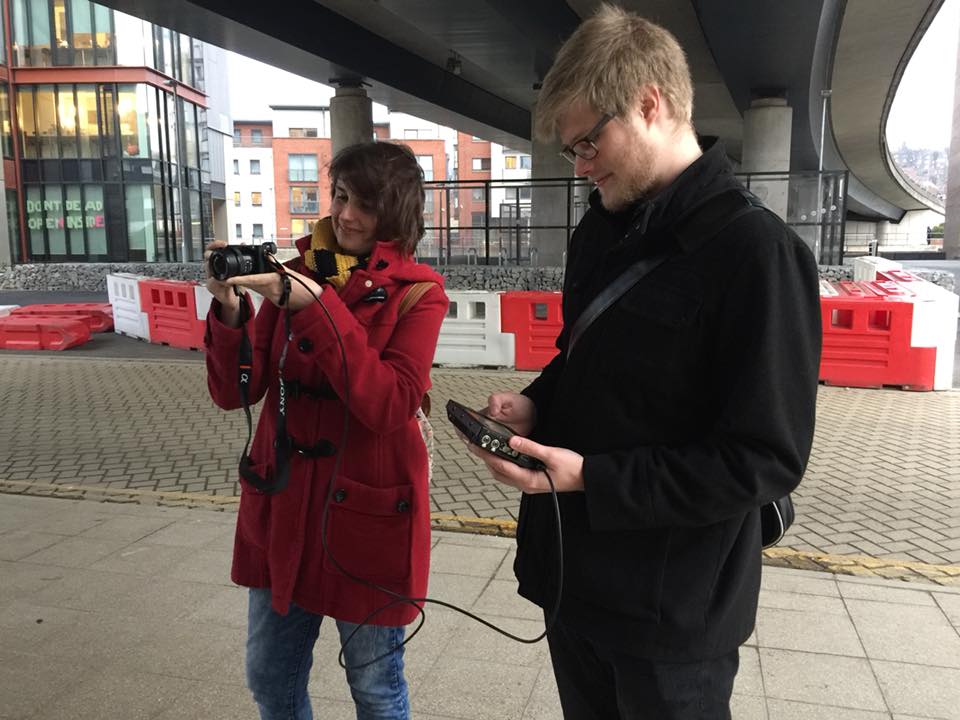
In a workshop with Jon, we were introduced to how to film footage that will be used to 3D track later. There were many things to keep in mind when doing this. First of all: the quality of footage. When tracking it is best to work with raw footage, as footage that has been compressed can have grain, pixelation and other noise that will make it harder to get a clear track. To get the best results from our cameras, we can hook up a Black Magic 1080p monitor. This screen will bypass the camera’s compression. The down side to this of course it that each film file will be very large and after converting to a image sequence it will be even larger.
To get the best footage for tracking there are a few camera options that need to be changed. First is the shutter speed, by default shutter speed should be double the frame rate, however for tracking its best that the shutter speed be faster so as to get crisp edges and minimal motion blur. The ISO should also be as low as we can get it so as to minimise grain and also when mixed with the aperture setting get a high depth of field, this meaning both the foreground and background should be in focus.
When composing the shot there are a few things to think about. We want to have clear tracking points, good examples of this are edges of building, windows or corners, where objects meet the floor. The angle that we film at should be quite level, if it’s pointed too far towards the ground then this will flatten the image out and not give the video any depth so making it hard to 3D track. Having built in straight lines in the composition will help a lot, such as brick work or pavement, however we should beware of lines too close together as this will confuse the tracker and it might hop between the lines or be unable to differentiate.

