The first software I have challenged myself to learn to use is Da Vinci Resolve, software that is used for colour grading.
I watched the online crash course on the software: https://www.youtube.com/watch?v=ojjfhCrjDus
This gave me a quick introduction to the software and what it can do. I shot some test footage on my Canon EOS 600D around the university. It was a raining and overcast afternoon, so I wanted to see if I could get my footage to look different than this using the software.
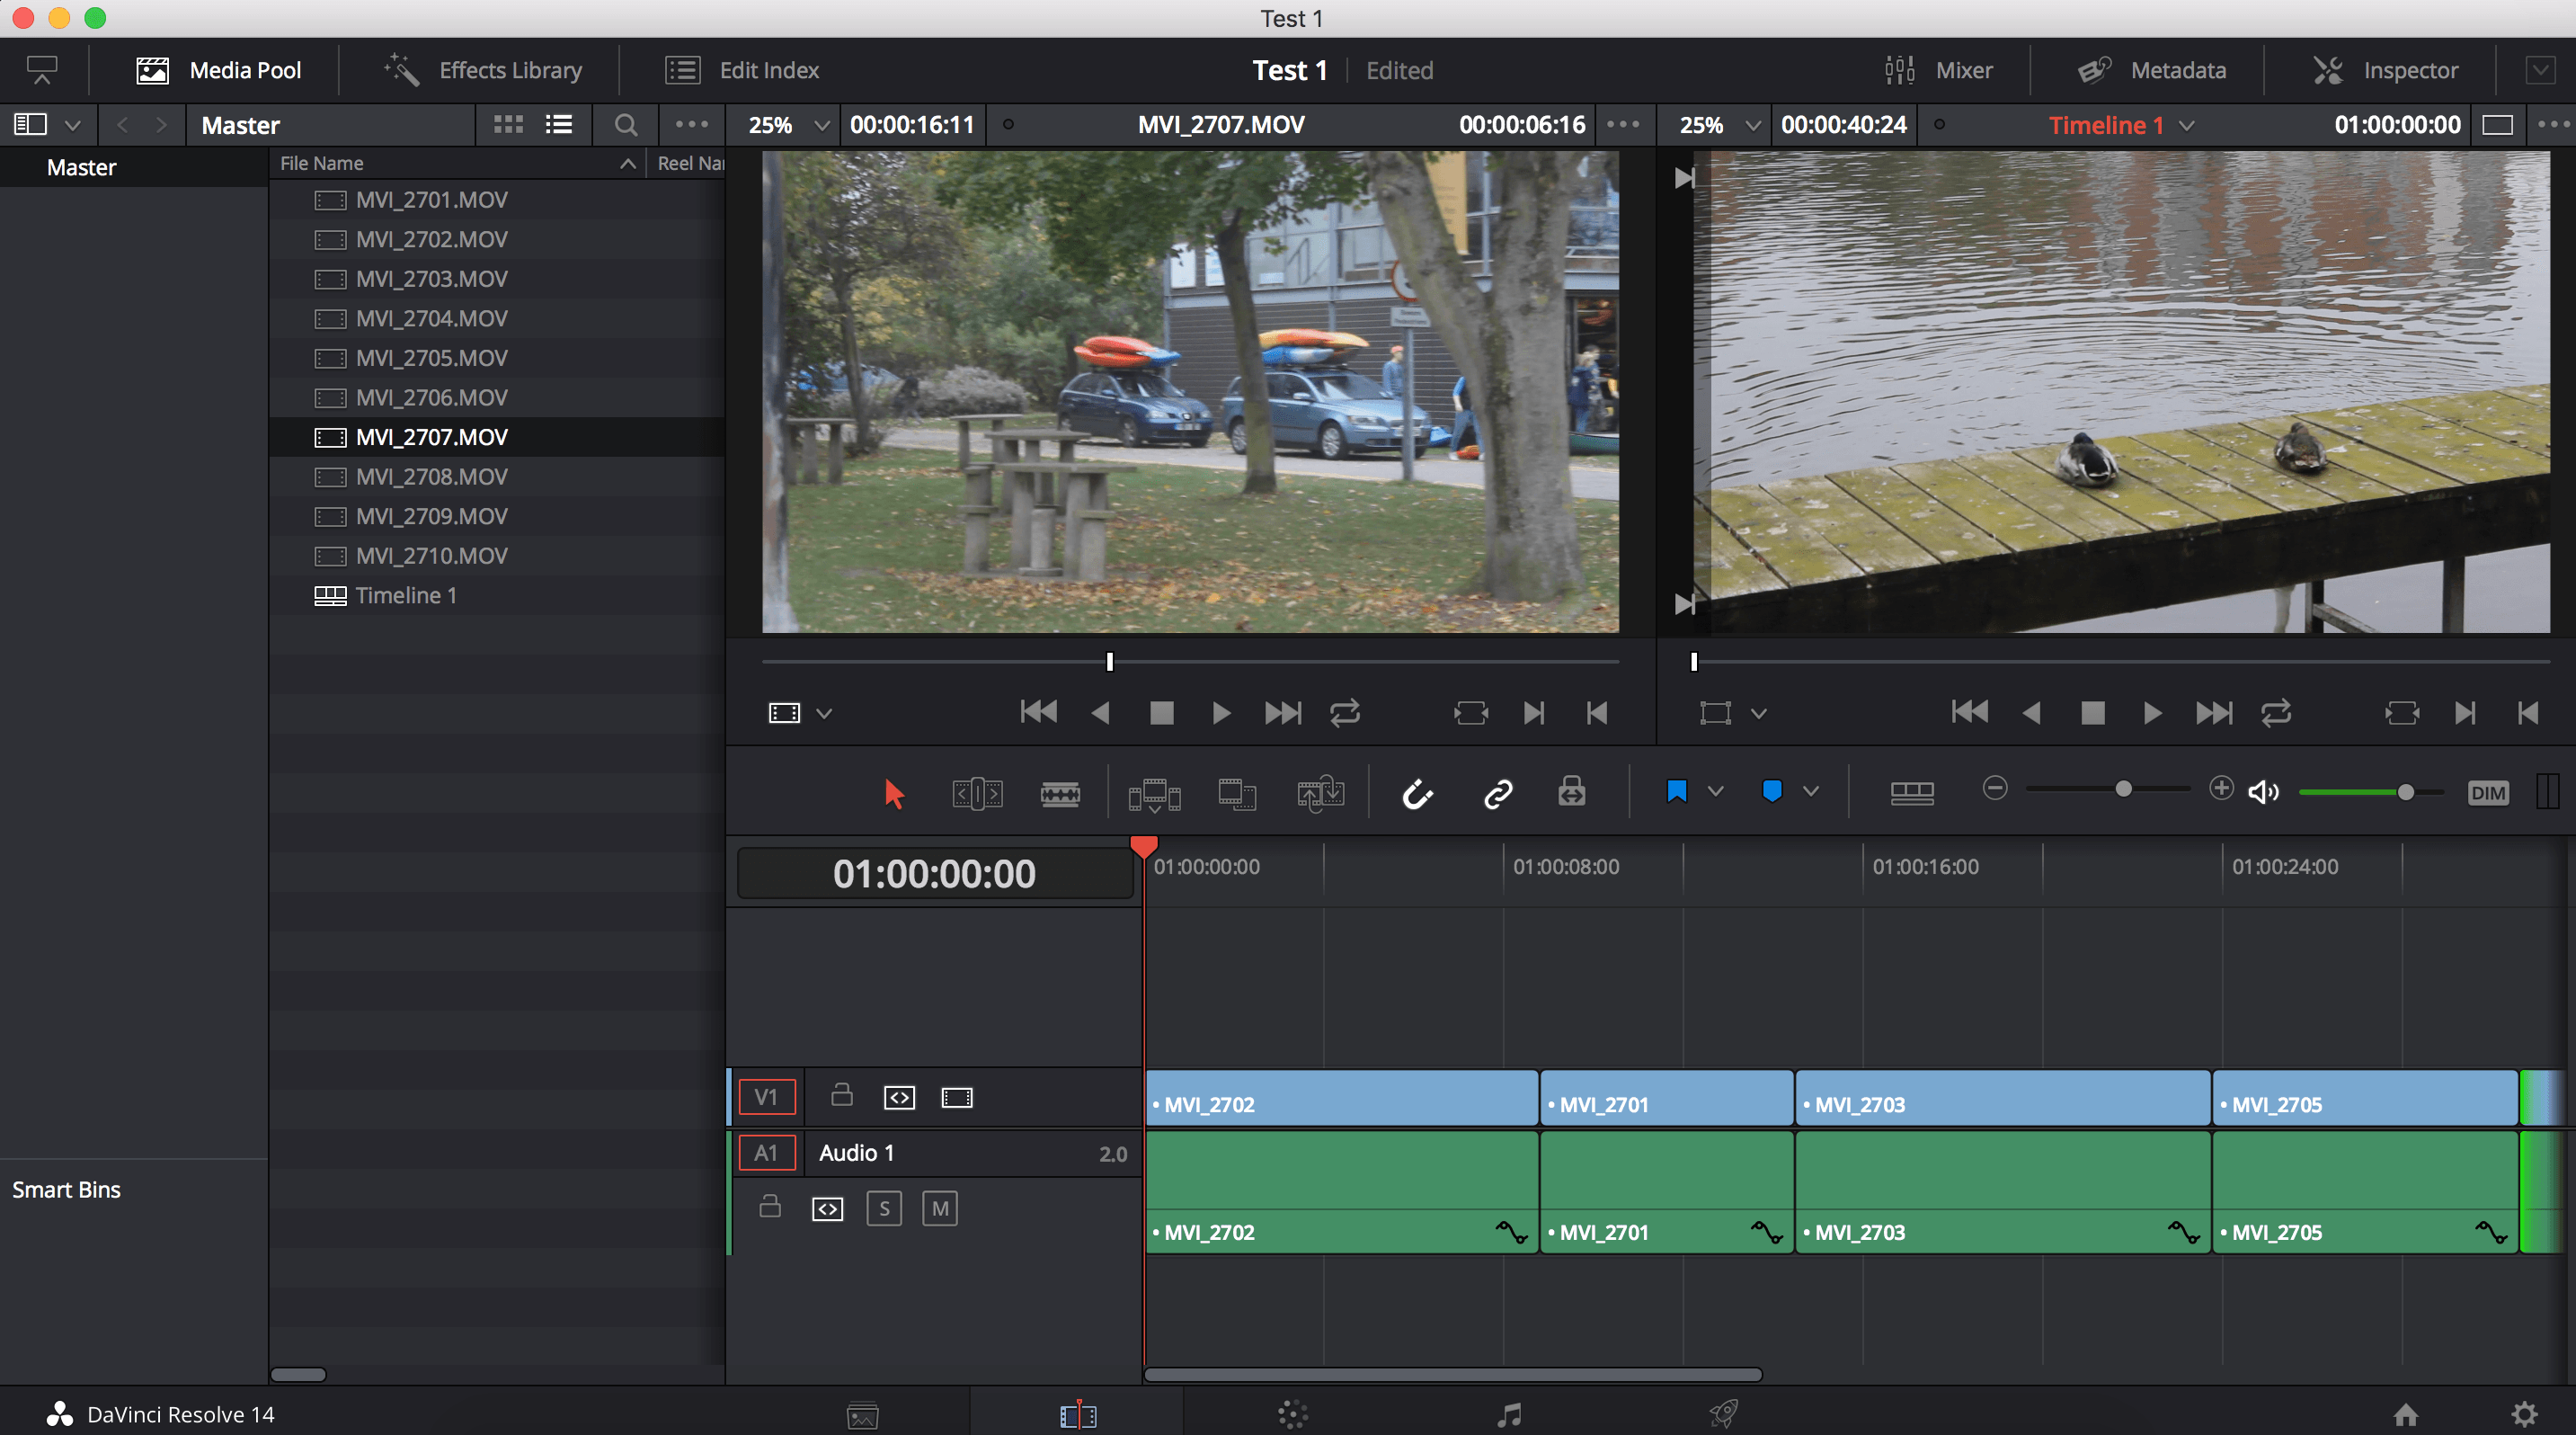
I imported my clips and edited them into a short sequence. When I was filming I was aware of trying to get a different range of colours in the shot, particularly the bright oranges and reds of the canoes, this was so that later I would see if I could make them ‘pop’ more using the software. I was also aware of trying to get something white in the shot so that I could colour balance my sequence correctly.

Using the waveform I can see that the footage I shot needs stretching out, so both of its highs and lows can become better, this also gives the middle more range.

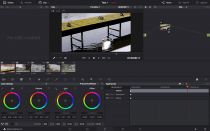
I do this by using the Lift and Gain tools, stretching the waveform to look like this:

With this small change the footage goes from this:

To this:
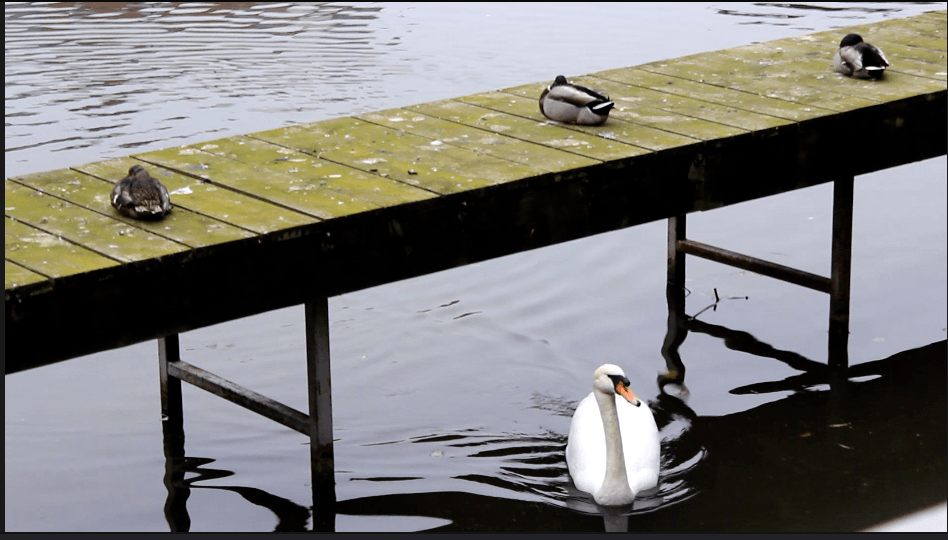
Next I want to fix the white balance, to do this I once again look at the waveform this time comparing it with something white in my footage. For this I chose the swan.

At the top there is a section where the three colours are very close together. I am going to use the temperature control to make it so they all merge into one, symbolising white.
Like so:

Before and after: